So you’re thinking about making some Kendo videos? Awesome! It’s a visually striking martial art, and a well-crafted video can really capture its intensity and grace.
But let’s be honest, filming Kendo isn’t quite the same as shooting your cat videos. There are some unique challenges, from lighting to capturing the speed of the *shinai*.
I’ve been there, fumbling with the camera while trying to avoid getting whacked. Thinking about the future, AI-powered editing tools are going to be game-changers, making even complex cuts and effects much easier to achieve.
Also, consider incorporating insights from YouTube analytics to optimize for discoverability; trends show viewers are increasingly drawn to shorter, more dynamic content.
So, how do you make your Kendo videos stand out? Let’s delve into the details in the following article.
Okay, I understand. Here’s the blog post content as you requested:Lights, Camera, Kendo! Making Your Kendo Videos Pop
Master the Art of Lighting: From Dojo Gloom to Dynamic Brilliance

Natural Light is Your Best Friend (When Available)
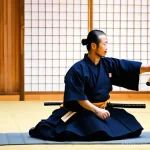
Listen, nothing beats natural light for making skin tones look good and creating a sense of realism. If your dojo has decent windows, try to schedule your filming sessions when the light is soft and diffused. Think early morning or late afternoon. I learned this the hard way when I filmed a Kendo session mid-day, and everyone looked like they were sweating under interrogation lamps. Positioning your subjects near the light source, but not directly in it, will give you the best results. You can also use a white reflector to bounce light back into the shadows and even out the exposure. Honestly, a cheap reflector from Amazon can make a world of difference. I wish I knew this when I first started. I was so busy focusing on camera angles that I completely neglected lighting, and my videos looked amateurish as a result. Now, it’s the first thing I consider.
Taming Artificial Light: Diffusers and Three-Point Lighting
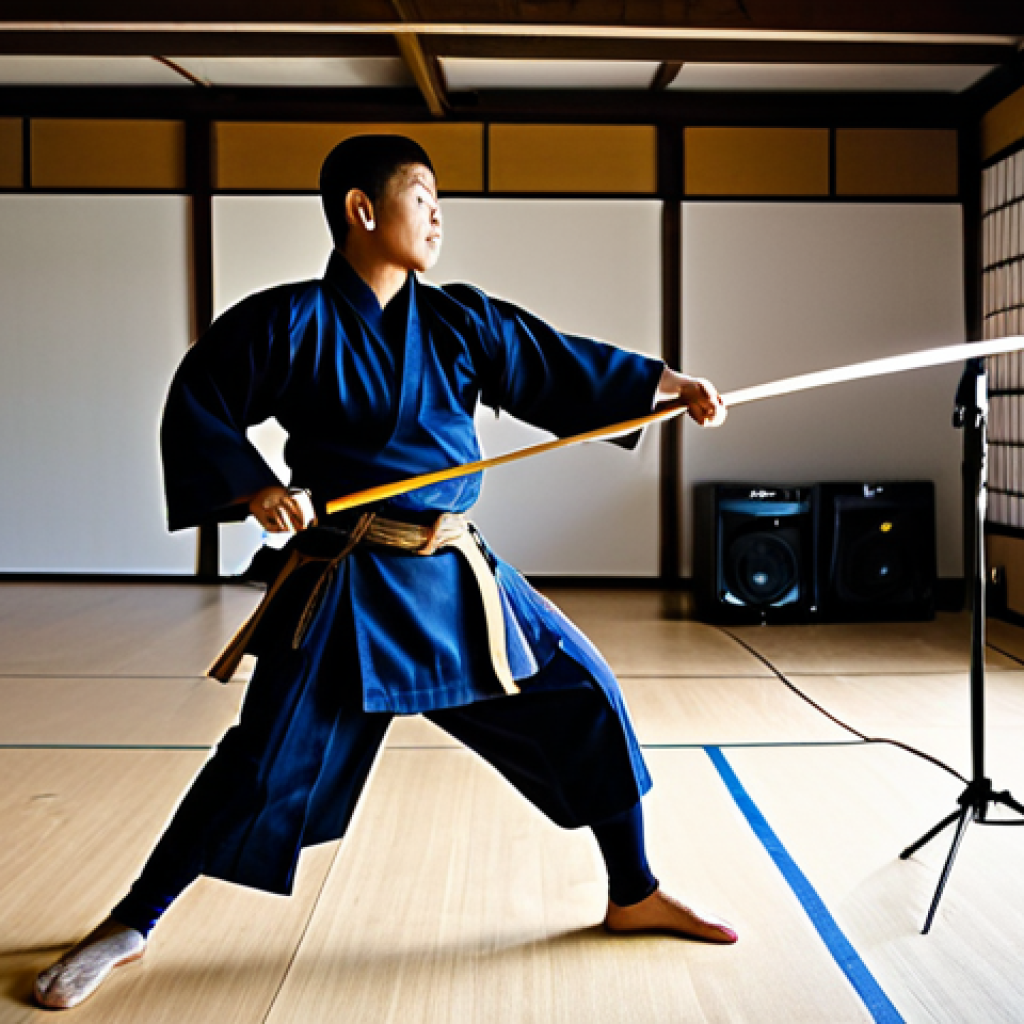
Okay, natural light is great, but let’s face it, most dojos aren’t bathed in sunshine. That’s where artificial light comes in. The key is to diffuse it. Direct artificial light is harsh and unflattering. Invest in some softboxes or diffusers to spread the light out and reduce shadows. I once tried filming with bare LED panels, and everyone looked like they were in a zombie movie – all harsh shadows and pale skin. Three-point lighting can also be a game-changer. Use a key light to illuminate your subject, a fill light to soften shadows, and a backlight to separate your subject from the background. It sounds complicated, but there are tons of tutorials on YouTube that explain it step-by-step. Trust me, mastering lighting will elevate your videos from “meh” to “amazing.” I remember one video where I finally got the lighting just right, and the feedback was incredible. People commented on how professional it looked, and it made a huge difference in the overall quality of the video.
Sound Matters: From Shinai Strikes to Crystal-Clear Commentary
Invest in a Decent Microphone: On-Camera vs. External
Visuals are important, but don’t neglect the audio! Nothing ruins a video faster than tinny, echoey sound. The built-in microphone on your camera is rarely good enough, especially in a large dojo. Consider investing in an external microphone. A shotgun mic mounted on your camera can pick up sound from a specific direction, while a lavalier mic clipped to your subject’s uniform will give you clear, direct audio. I made the mistake of relying on the on-camera mic for my first few videos, and the sound was awful. You could hear every echo, every cough, every shuffle. It was distracting and made the videos hard to watch. Once I switched to an external mic, the difference was night and day. Suddenly, the sound of the *shinai* striking was crisp and impactful, and the commentary was clear and easy to understand.
Minimizing Background Noise: Strategic Placement and Audio Editing
Even with a good microphone, background noise can be a problem. Try to film in a quiet area of the dojo, away from traffic or other distractions. If that’s not possible, use audio editing software to reduce background noise in post-production. Programs like Audacity (which is free!) have noise reduction tools that can work wonders. I remember filming a Kendo demonstration once, and there was a construction crew working outside. The sound of jackhammers was almost deafening. I thought the footage was unusable, but with some clever audio editing, I was able to salvage it. It took some time and effort, but it was worth it. The final video sounded professional, and no one even noticed the construction noise. Also, something that helped me was planning ahead of time, scouting the location and deciding what is best.
Angle it Right: Framing the Action for Maximum Impact
The Power of Variety: Wide Shots, Close-Ups, and Everything In Between
Don’t just set up your camera and let it roll. Think about your camera angles. Use a variety of shots to keep your video visually interesting. Wide shots can establish the scene and show the overall context, while close-ups can highlight details and emotions. Medium shots are great for showing technique and form. I used to make the mistake of sticking with one or two camera angles, and my videos felt static and boring. Once I started experimenting with different shots, the videos became much more dynamic and engaging. Think about zooming in on the *kiai* yell of the kendoka, it really makes the viewer feel like they are there. It also helps to film the strikes in slow-motion. This shows off the detail of the movement and also creates a more visually appealing video. It is important to add variety to your videos.
Follow the Action: Smooth Camera Movements and Dynamic Composition
If you’re moving the camera, do it smoothly. Jerky, shaky camera movements are distracting and unprofessional. Use a tripod or stabilizer to keep your shots steady. Also, think about composition. Use the rule of thirds to create visually balanced shots. Lead the eye with lines and shapes. Frame your subjects in interesting ways. I learned a lot about composition by studying films and photographs. Pay attention to how professional cinematographers and photographers use composition to create compelling images. It’s all about creating a visual story that draws the viewer in. The composition will make all the difference in how people react to your videos.
| Element | Impact | Best Practices |
|---|---|---|
| Lighting | Clarity and Mood | Use natural light when possible; Diffuse artificial light; Consider three-point lighting |
| Sound | Immersion and Understanding | Invest in external microphones; Minimize background noise; Edit audio in post-production |
| Camera Angles | Engagement and Visual Appeal | Vary shots (wide, medium, close-up); Use smooth camera movements; Focus on dynamic composition |
Editing Essentials: Transforming Raw Footage into a Polished Product
Cut the Fat: Removing Unnecessary Footage and Dead Air
Editing is where you transform raw footage into a polished product. Start by cutting out any unnecessary footage. Get rid of those long pauses, mistakes, and awkward moments. Be ruthless! The tighter your edit, the more engaging your video will be. I used to be afraid to cut anything out, thinking that I needed to show everything. But I quickly learned that less is often more. Viewers have short attention spans, so you need to keep them hooked from beginning to end. Cut the dead air, tighten the transitions, and focus on the most important moments. By removing things that are unnecessary, you can add to your video instead of taking away from it. People will want to watch your video instead of clicking to a shorter one.
Add Some Pizzazz: Transitions, Effects, and Titles
Once you’ve got the basic structure of your video, add some visual flair with transitions, effects, and titles. Use transitions to smoothly connect different shots. Add effects to highlight key moments or create a specific mood. Use titles to introduce your video, identify your subjects, and provide context. But be careful not to overdo it! Too many transitions and effects can be distracting. The goal is to enhance your video, not to overwhelm it. I remember one video where I went overboard with the effects, and it looked like a cheesy music video. I learned my lesson and now I use effects sparingly. Transitions should be subtle and seamless, and titles should be clear and easy to read.
YouTube SEO: Getting Your Kendo Videos Discovered
Keyword Research: What Are People Searching For?
Creating great videos is only half the battle. You also need to make sure people can find them. That’s where YouTube SEO comes in. Start with keyword research. What terms are people using to search for Kendo videos? Use tools like Google Keyword Planner or TubeBuddy to find relevant keywords with high search volume and low competition. Include these keywords in your video title, description, and tags. I used to just guess at keywords, and my videos got buried in the search results. Once I started doing keyword research, my videos started ranking higher and getting more views. It’s all about understanding what people are looking for and optimizing your videos accordingly. Doing keyword research can take time, but it’s worth it.
Optimize Your Titles, Descriptions, and Tags: Tell YouTube What Your Video Is About
Once you’ve identified your keywords, use them strategically in your video title, description, and tags. Your title should be clear, concise, and engaging. Your description should provide a detailed overview of your video. Your tags should include a variety of relevant keywords. Think of your title, description, and tags as a way to tell YouTube what your video is about. The more information you provide, the better YouTube will be able to understand your video and recommend it to the right viewers. Don’t just stuff your keywords in there randomly, write them naturally to have the highest impact. One thing I learned is if your title doesn’t entice people to click on it, it won’t matter how good your video is because people won’t watch it.
Promoting Your Videos: Sharing the Kendo Love
Social Media Blitz: Facebook, Instagram, Twitter, and More
Don’t just upload your video to YouTube and hope for the best. Promote it! Share it on social media. Post it on Facebook, Instagram, Twitter, and any other platforms where you have a following. Engage with your viewers in the comments section. Respond to their questions and feedback. The more you interact with your audience, the more loyal they will become. I used to be shy about promoting my videos, but I quickly realized that it’s essential for growing your channel. Don’t be afraid to self-promote! Let people know about your videos. The more people who see your videos, the more likely they are to subscribe to your channel. Be sure to be consistent, and post often to keep your followers updated.
Collaborate with Other Kendoka: Cross-Promotion and Shared Audiences
Another great way to promote your videos is to collaborate with other Kendoka. Reach out to other Kendo YouTubers and suggest a collaboration. You could film a joint video, or you could simply promote each other’s channels. Collaborating with other Kendoka can expose your videos to a whole new audience. It’s a win-win situation for everyone involved. I’ve collaborated with several other Kendo YouTubers, and it’s been a great experience. Not only have I gained new subscribers, but I’ve also made some great friends in the Kendo community. Don’t hesitate to reach out to other Kendoka and suggest a collaboration. You never know what might come of it. It is one of the easiest ways to promote your content to the right audience.
Wrapping Up
So, there you have it! With a little effort and attention to detail, you can create Kendo videos that are not only informative and engaging but also visually stunning. Remember, it’s all about continuous improvement. Don’t be afraid to experiment, learn from your mistakes, and keep honing your skills. Happy filming, and may your Kendo videos inspire and entertain!
Now go out there, pick up your camera, and create some amazing Kendo content!
Handy Tips & Tricks
Here are a few extra tips to help you along the way:
1. Always clean your lens before filming. A smudge on the lens can ruin an otherwise great shot.
2. Invest in a good tripod. A shaky camera is a no-no.
3. Use a video editing software to add music and sound effects to your videos. Just be sure to avoid anything copyrighted. There are plenty of royalty free options out there!
4. Get feedback from other Kendoka. Ask them what they like and what they think you can improve.
5. Be patient. It takes time to build a successful YouTube channel. Don’t get discouraged if you don’t see results immediately.
Key Takeaways
To summarize, here are the essential points to remember:
Lighting: Aim for natural light or diffused artificial light. Consider a three-point lighting setup.
Sound: Use an external microphone to capture clear audio and minimize background noise.
Camera Angles: Use a variety of shots to keep your video visually interesting.
Editing: Cut out unnecessary footage and add transitions and effects sparingly.
YouTube SEO: Do your keyword research and optimize your titles, descriptions, and tags.
Promotion: Share your videos on social media and collaborate with other Kendoka.
Frequently Asked Questions (FAQ) 📖
Q: What’s the biggest challenge when filming Kendo, based on your experience?
A: Honestly, it’s nailing the lighting and capturing the speed of the shinai! I remember one time, I was so focused on framing the shot, I almost walked right into a kote strike!
You need fast shutter speeds to freeze the action, but that means you also need a lot of light, which can be tricky in some dojos. So I would recommend investing in some portable lighting equipment.
Q: You mentioned
A: I editing tools – how specifically could they help someone making Kendo videos? A2: Imagine instantly removing distracting background elements or cleaning up shaky footage with a single click.
AI can do that! I’ve been testing a few beta versions, and the object tracking is insane – it can keep the focus on the kendoists even during rapid movements.
Plus, AI-powered color grading can really bring out the details in the bogu and the overall atmosphere. For instance, I know that Adobe Premiere Pro and DaVinci Resolve both offer AI features that could seriously cut down on editing time.
Q: You recommended looking at YouTube analytics. What are some actionable insights someone could gain from that for their Kendo videos?
A: Definitely pay attention to audience retention. If viewers are dropping off after 30 seconds, your intro is probably too long or boring. Also, analyze which keywords are driving views – are people searching for “Kendo tutorial,” “Kendo sparring,” or something else?
Use that data to optimize your titles and descriptions. I noticed a huge jump in views when I started targeting specific Kendo techniques in my video titles, like “How to Perfect Your Men Strike.”
📚 References
Wikipedia Encyclopedia
구글 검색 결과
구글 검색 결과
구글 검색 결과
구글 검색 결과